Using AMPL Studio
|
Using AMPL Studio |
|
|
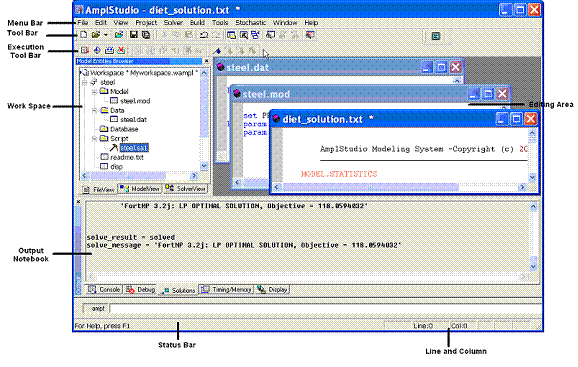
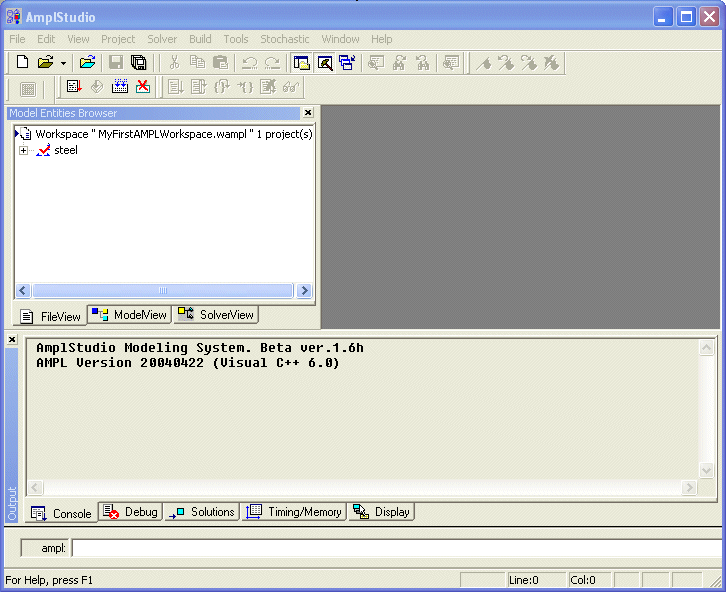
Overview of AMPL StudioAMPL Studio Main WindowWhen you launch AMPL Studio, the Main window appears. All tasks and commands for using AMPL Studio are carried out from this window. Figure 4.1 shows the Main window with three opened files, steel.dat, steel.mod and diet_solution.txt. AMPL Studio Main Window
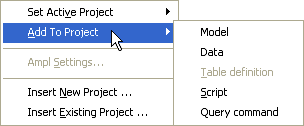
· Menu Bar provides various menu commands to choose from, such as Save in the File menu, and to display dialog boxes to perform various tasks. Certain menu commands, followed by a ▶ image on their right hand side, have their own sub-menu commands. e.g.
AMPL Studio Sub Menus The Add To Project Command menu has five sub command menus, Model, Data, Table Definition, Script and Query Command. · Tool Bar provides frequently used command buttons. · Execution Tool Bar buttons is used for executing the Models, Projects and Scripts. · Work Space contains a notebook with three pages, FileView, ModelView and SolverView. FileView displays project tree structures containing all the files related to each project. The project files are arranged under Model, Data, Database and Script containers. It also displays stand-alone models and scripts.
ModelView displays the various model components, such as Parameters, Sets, Variables, Constraints, Problems and Objectives in separate containers for easy access. Any particular information can be displayed by clicking on it and diverse parts of the solution.
SolverView is the sane as ModelView, with the difference that it displays what solver see after presolve. · Editing Area displays opened model, data, database, script, and Solution files. New files can be created and any existing files can be edited in this area. You can open more than one file in this space. The opened files are displayed in separate panels with the file name appearing in the title bar. · Output Notebook has five tabs to display AMPL Console Messages, Debug Information, Solution Files, Timing and Memory Information, and Display all other information. By default AMPL studio will display the most appropriate window for the user action, but the user can switch to another window by clicking on the tab at the bottom of the Output Notebook. · Status Bar displays messages concerning the execution status of AMPL Studio. · Line and Column displays line and column number of the cursor location in the active document in the editing area.
Menu Bar Commands
Overview of Commands in the Menu Bar
Some of the menu items have a keyboard shortcut, indicated on the right-hand column of the menu. For example, Keyword Save has the shortcut Ctrl + S, which means that you can save the active document by clicking the Ctrl key and the S key at the same time.
The following tables (Table 4.1 - Table 4.10) list the command found in the menus and provide a description of each command.
File Menu Command descriptions
Edit Menu Command descriptions
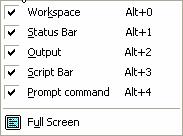
View Menu Command descriptions
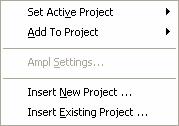
Project Menu Command descriptions
Solver Menu Command descriptions
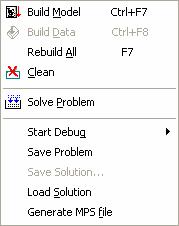
Build Menu Command descriptions
Tool Menu Command descriptions
Stochastic Menu Command descriptions
Window Menu Command descriptions
Help Menu Command descriptions
Tool Bar Buttons
Toolbar Buttons and Descriptions
Execution and Debugging Tool Bar ButtonsThe following buttons appear in the tool bar:
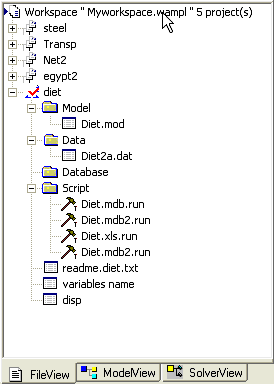
Execution Toolbar Buttons and Descriptions WorkspaceAMPL Studio Workspace is divided into three sub windows, FileView, ModelView, and SolverView. The user can switch between these windows by clicking on the required tab at the bottom of the Workspace. The Fileview displays the Workspace Files in the Tree structure.
Workspace File View
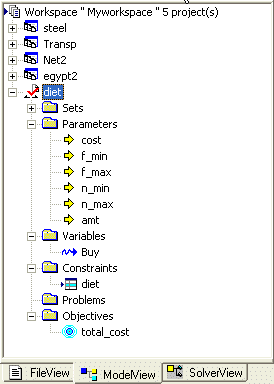
The ModelView displays the Model Parameters, Sets, Variables, Constraints, Problems and Objectives information, which becomes available after the models and their associated data files are built.
Workspace Model View
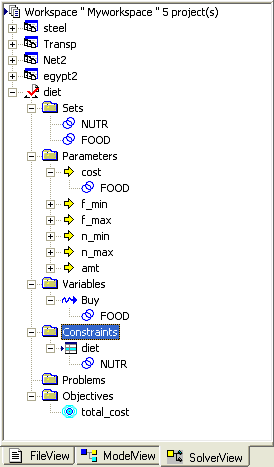
The SolverView displays Solved Model information, which becomes available after the model is solved.
Workspace Solver View
Editing AreaAMPL Studio allows the user to open many files into the editing area. One can edit existing files or create new files in the Editable Area using the AMPL Studio’s text editor. The user can edit multiple files by switching between the Editor Windows. Also the user can Resize, Minimise, Maximise and close any window. ConsoleAMPL studio outputs are divided into Console, Debug, Solution, Timing and Memory, and Display windows. AMPL Studio automatically displays the most appropriate window for the user action. The user can switch between these windows by clicking on the required tab at the bottom of the Output Notebook. The AMPL console output is displayed in the Console Window.
Output Console Window
The Debug results are displayed in the Debug Window.
Output Debug Window
The Solution files generated by the solvers will be displayed in the Solution Window.
Output Solutions Window
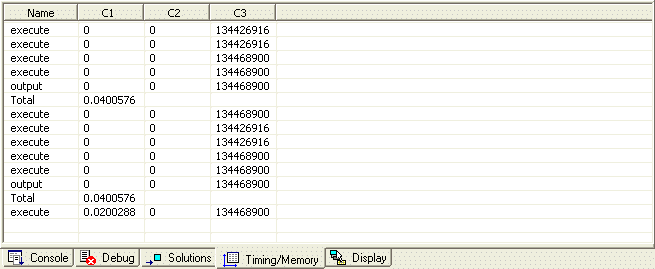
The processing Time and Memory usage of AMPL studio are displayed in the Timing/Memory Window.
Output Timing and Memory Window
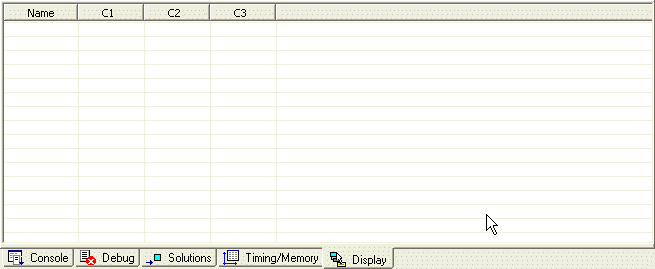
All other AMPL Studio output will be displayed in the Display Window.
Output Display Window
AMPL Studio – BasicsThis section describes several basic concepts to consider when using AMPL Studio. File Types· Models Model files contain AMPL statements. A stand-alone model is a model that can be executed in AMPL Studio without any additional requirements. · Data files Large problems are better organized by separating the model of the problem from the instance data. The instance data is stored in a data file (or in several data files). · Projects AMPL Studio uses the concept of a project to associate a model file with a number of data files. The model file declares the data but does not initialise it. The data files contain the initialisation of each data item declared in the model. The project file then organizes all the related model and data files. A project provides a convenient way to maintain the relationship between related files and runtime options for the environment. · Scripts Script files contain AMPL Script, a script language for AMPL. A script handles different models with their data. The models and data files are associated in the script itself.
The following naming conventions are used to indicate these different files:
File extensions and descriptions
In this Chapter and in Chapter 6 we will see how to create project files, associate model and data files with the project, and then find the solution to the problem using the project file.
Working with AMPL StudioThe model and data files used in the examples in this manual are distributed with the product. This way the reader will not have to create these files from scratch, but just open them once AMPL Studio is launched.
Opening an Existing WorkspaceTo open existing workspaces do the following
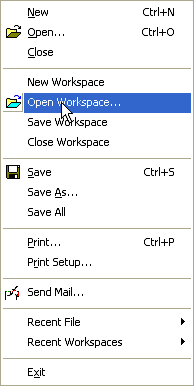
Step 1: Choose the Open Workspace from the File Menu.
Open Workspace from the File Menu
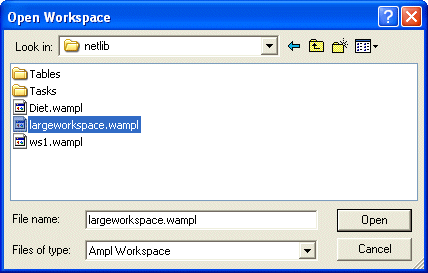
Step 2: AMPL Studio then displays a standard Open File dialog box in order to select the file that corresponds to the workspace we want to open.
Choosing AMPL Workspace File
Select from the directory:
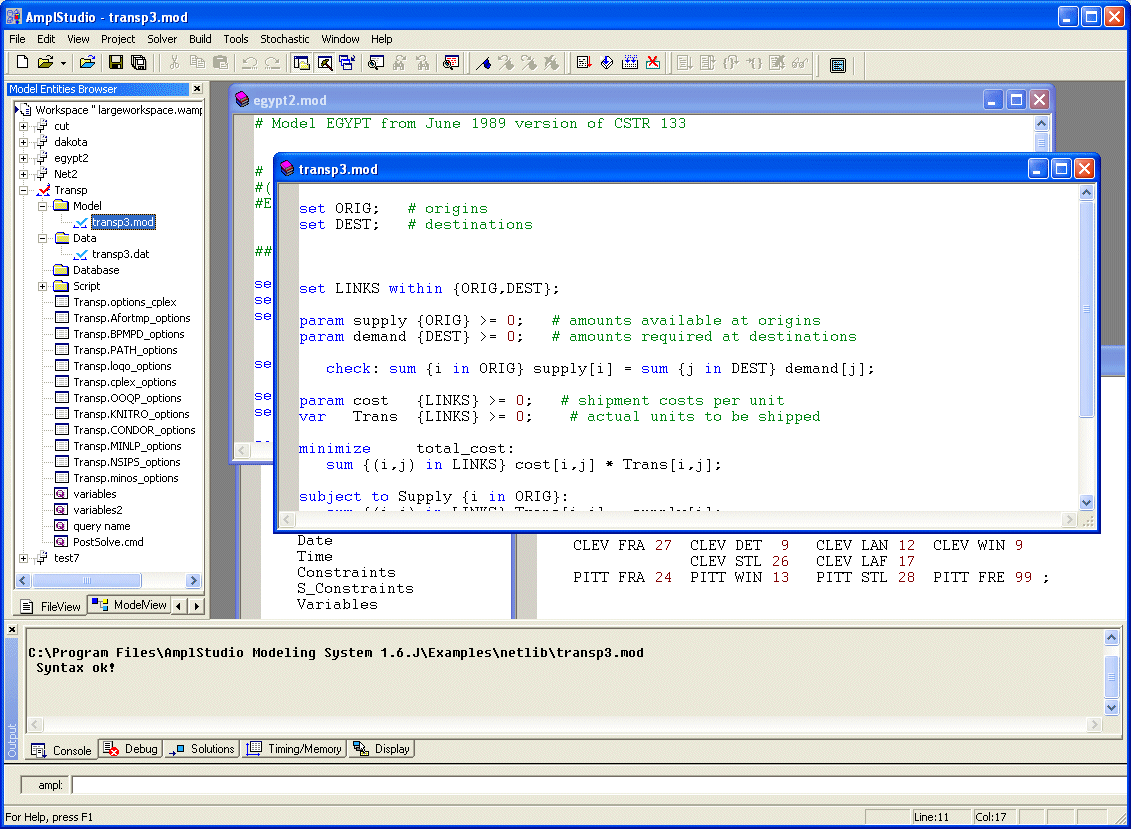
The AMPL studio will open the workspace and displays it in the workspace window as shown below.
Opened Workspace in AMPL Studio
Creating a New WorkspaceTo create new workspaces do the following
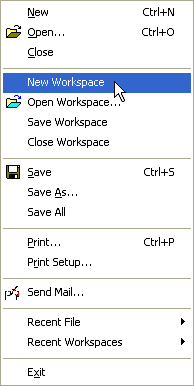
Step 1: Choose the New Workspace from the File Menu. File Menu
New Workspace from the File Menu
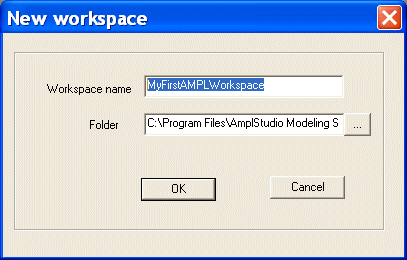
Step 2: AMPL Studio then displays a New Workspace dialog box in order to enter the Workspace name and the Folder where the workspace will be created.
New Workspace Dialog box
Enter the
workspace name as
MyFirstAMPLWorkspace and choose your preferred
folder by clicking on the
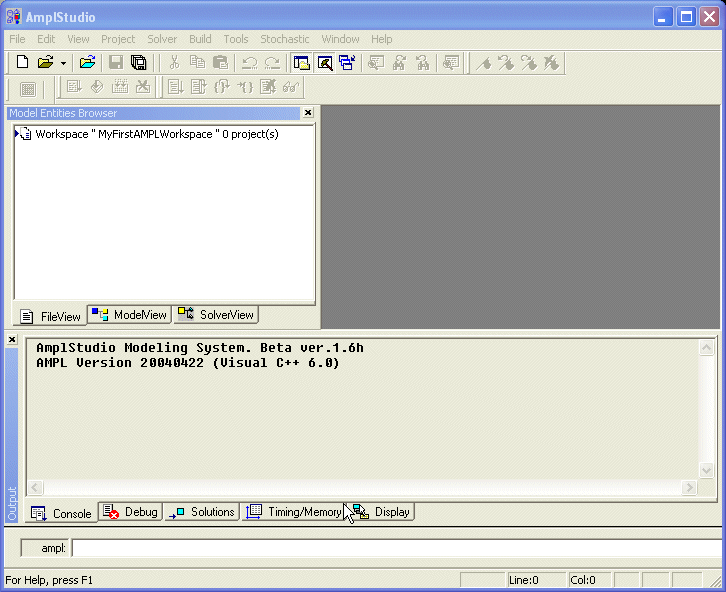
AMPL studio will open the new empty workspace and display it in the workspace window as shown below.
New Workspace in AMPL Studio
Inserting an Existing Project into the WorkspaceTo insert an existing project into the current workspace do the following
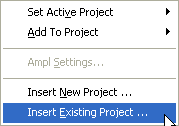
Step 1: Choose the Insert Existing Project Menu from the Project Menu.
Project Menu
Insert Existing Project Menu from the Project Menu
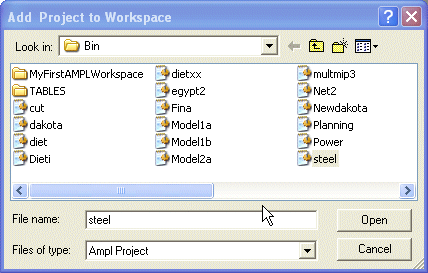
Step 2: AMPL Studio then displays a standard Open File dialog box to select the file that corresponds to the project we want to open.
Choosing AMPL Project File
Select from the directory:
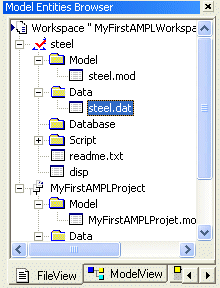
The AMPL studio will insert the project into the workspace and display it in the workspace window as below.
Inserted Project in the Workspace
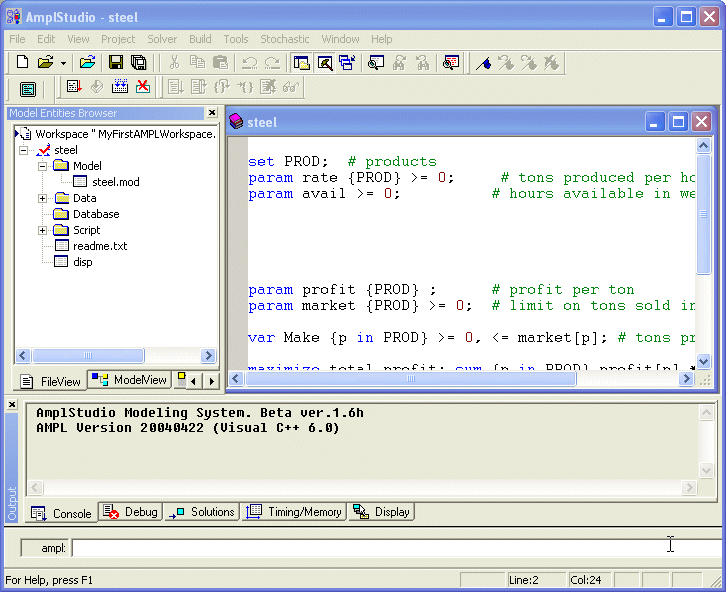
The file can be viewed in the Editing area by clicking on the file in the workspace. For example, clicking on the steel.mod will display the steel.mod in the Editing Area.
Viewing the Model file from the Inserted Project
Adding a New Project into the WorkspaceTo insert a new project into a workspace do the following
Step 1: Choose the Insert New Project Menu from the Project Menu.
Project Menu
Insert New Project Menu from the Project Menu
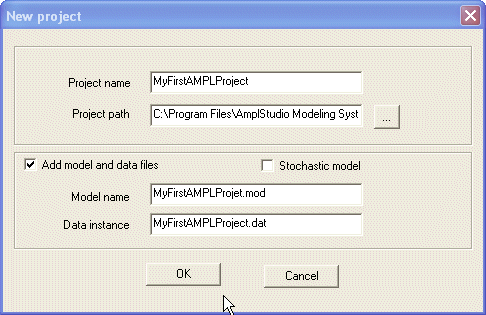
Step 2: AMPL Studio then displays an Open New Project dialog box in order to specify the new project name and the directory where the project will be created.
Insert New Project Dialog Box
Enter the
project name as
MyFirstAMPLProject and choose your preferred
folder by clicking on the
Also you have the option to add the model and data template files by choosing the Add template check box. Type the model and data template files as MYFirstAMPLModel.mod and MyFirstAMPLData.dat.
Click the OK button to add a new project to the workspace
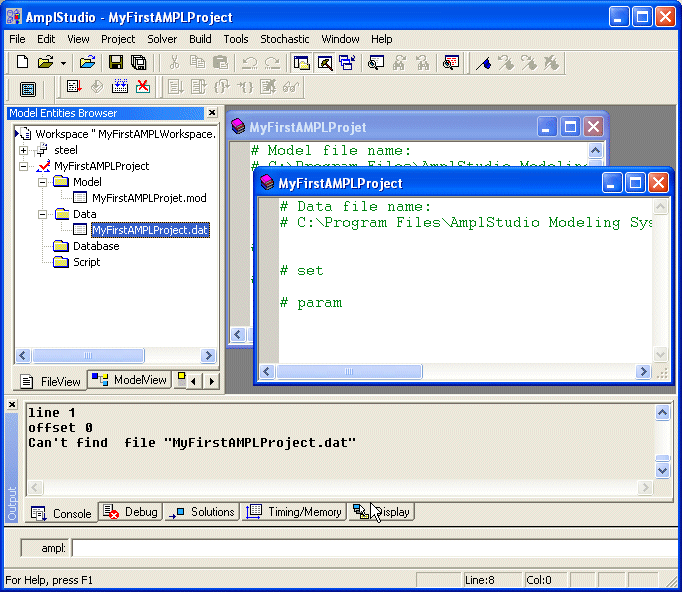
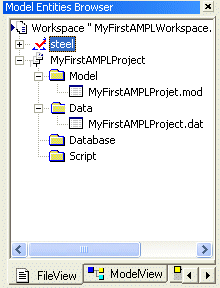
The AMPL studio will insert the project into the workspace and display it in the workspace window as shown below.
New Project View in the AMPL Studio
You can now start to write a new model and data files. Don’t worry about writing the model and Data file at this stage. Chapter 5 and 6 will cover this in more detail. Activating the ProjectAs you can
see the steel project was active (
New Project Active AMPL Studio
To set the steel project back to active project, do the following.
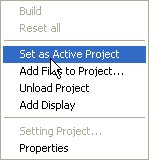
Step 1: Click on the Steel Project Node.
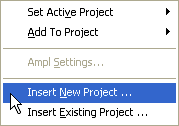
Step 2: Right clicking the mouse will display the following menu.
Choosing the Set as Active Project Menu
AMPL Studio will change the steel project back to active project as below.
Workspace with steel project as active
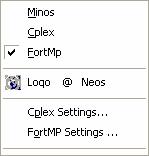
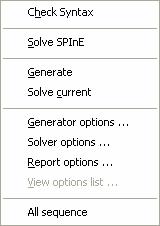
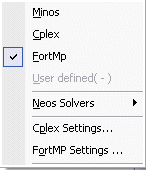
Selecting the SolverBy default AMPL studio provide three solvers, Minos, CPLEX, and FortMP. You can choose your preferred solver from one of these solvers. In order to choose FortMP as your default Solver select the FortMP Menu from the Solver Menu.
Solver Menu
Selecting the FortMP Solver as the default solver
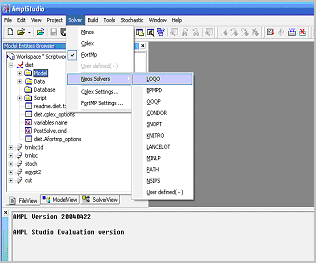
AMPL Studio also has the facility to use the solvers provided at the NEOS server. To use one of those solver choose the solver from Neos Solvers dropdown
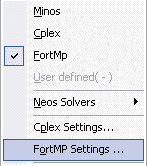
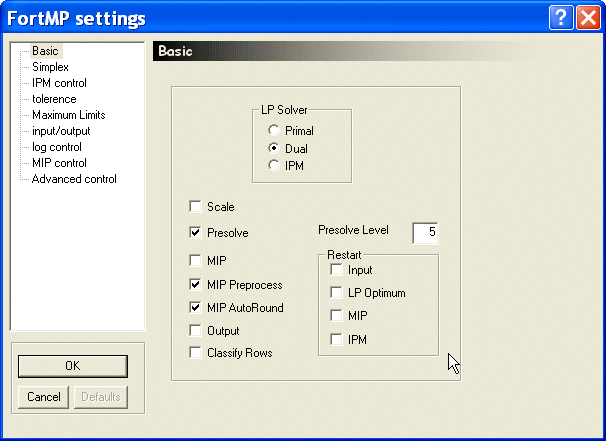
Selecting the Neos Solver Setting the Solver OptionsCPLEX and FortMP solvers have their own solver settings. You can change these setting accordingly to suite your project needs. In order to change the FortMP Solver settings choose the FortMP Settings menu from the Solver Menu. Solver Menu Selecting the FortMP Solver Settings AMPL Studio then displays the following FortMP Solver setting dialog box for your selection. FortMP Solver Settings Dialog Box
FortMP Solver settings are divided into Basic, Simplex, IPM Control, Tolerance, Maximum Limits, Input/Output, Log Control, MIP Control and Advanced Control. The detail of these can be found in the FortMP Manual.
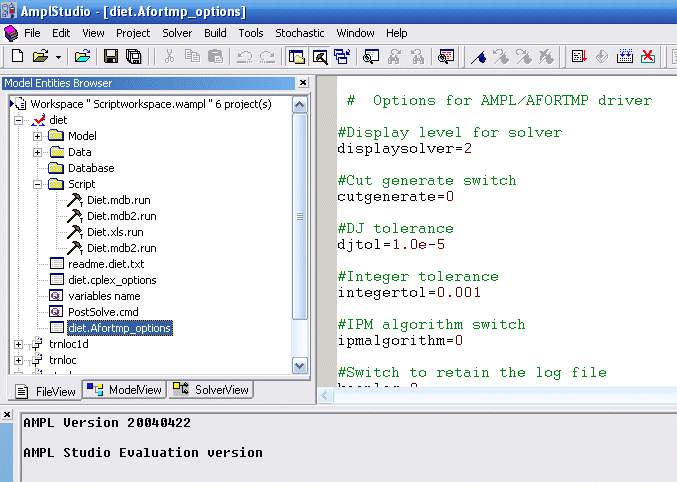
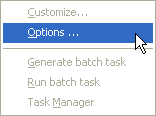
Some additional options may exist for the solvers, which are not displayed in the solver settings menu. These options can be added in the solver options file. To include the solver options file, first go to Options menu and tick Insert file options in project for additional solver options. A solver options file is then included in the workspace as displayed on the left hand side of AMPL Studio. | ||||||||||||||||||||||||||||||||||||||||||||||||||||||||||||||||||||||||||||||||||||||||||||||||||||||||||||||||||||||||||||||||||||||||||||||||||||||||||||||||||||||||||||||||||||||||||||||||||||||||||||||||||||||||||||||||||||||||||||||||||||||||||||||||||||||||||||||||||||||||||||||||||
|
|
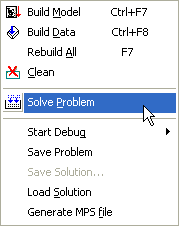
You can also select the Solve Problem Menu from the Build Menu.
|
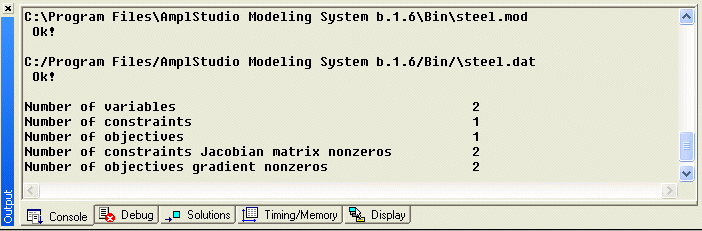
The AMPL Studio will solve the steel problem using FortMP Solver and display the solution file in the editing area.
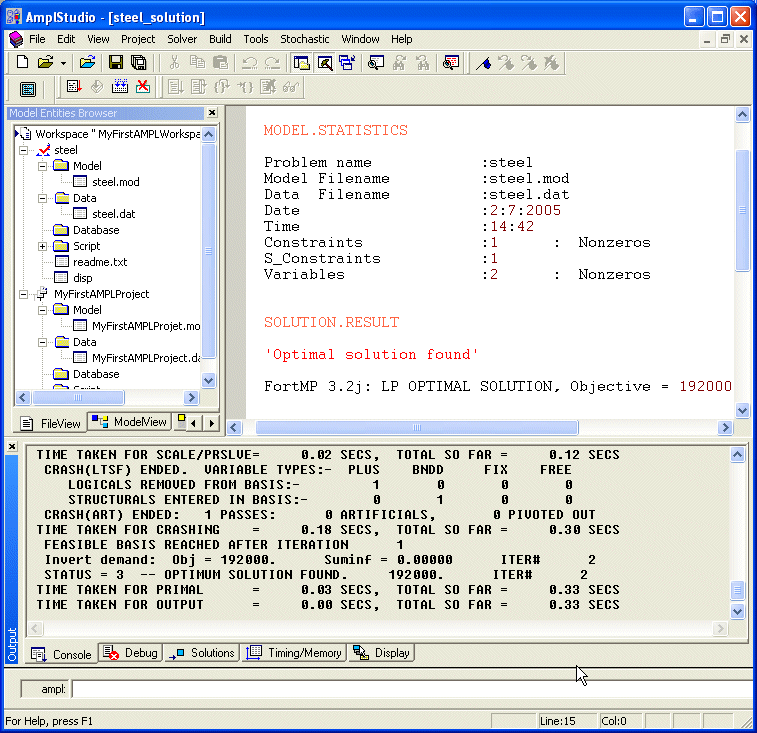
AMPL Studio Solver Console message and Solution Display
The user can view various parts of the model and the solution from the Workspace and their information will be displayed on the display window as shown below.
Step 1: Click on the ModelView tab on the Workspace.
Step 2: Expand the Parameters node and Double Click on the rate Parameters.
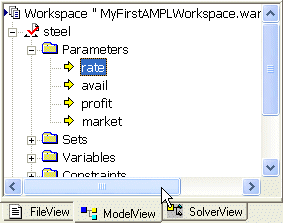
Choosing the rate Parameter for Viewing
The AMPL Studio Display Window displays the rate parameters as below.
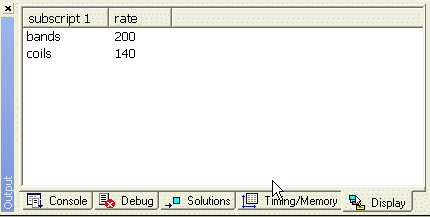
Displaying the rate Parameter
Step 3: Now Expand the Variable node and Double Click on the Make Variable.
The AMPL Studio Display Window displays the Make variable value as shown below.
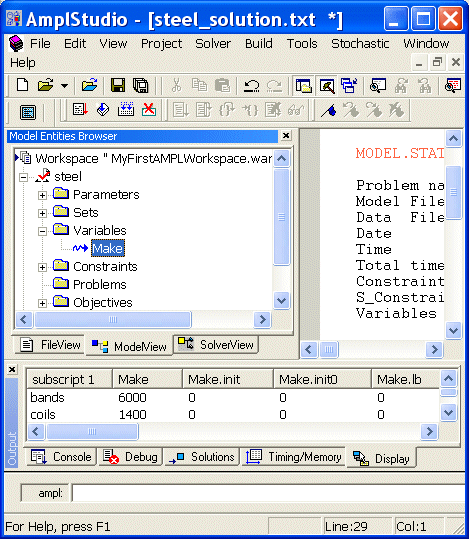
Displaying the Make Variable
In the previous sections you have solved the steel project. During the Solution process you have gone through a number of steps like Build Model, Build Data, Selecting the Solver, etc., to generate the solution. This process can be automated by creating a script file.
The following steel.sa1 script file was written to automate what we have done during the previous section. In this case we use CPLEX solver to solve the steel problem.

Writing Script File
Clicking on
the
![]() button
will execute all the AMPL Statements in the script file and display the results.
button
will execute all the AMPL Statements in the script file and display the results.
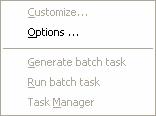
AMPL Studio has various options for you to choose from. In order to update the AMPL studio options choose the Options Menu from the Tools Menu.
Tools Menu
Choosing AMPL Studio Options
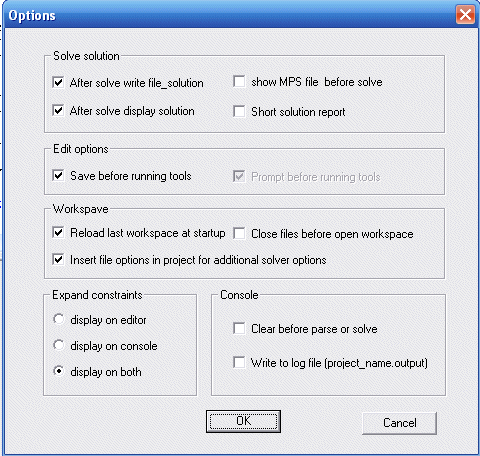
AMPL Studio then displays an AMPL Studio options in the following dialog box for your selection.
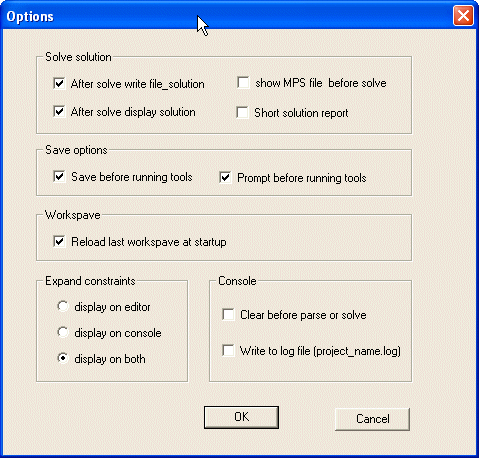
AMPL Studio Options Dialog Box
AMPL Studio options are divided into Solve Solution, Save Options, Workspace and Expand Constraints categories.
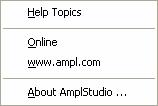
Online help can be accessed from the Help Menu. You need an Internet connection to access www.ampl.com Menu from Help Menu.
Selecting the Exit menu from the File Menu will terminate the AMPL Studio session.
![]()
![]()
![]()
![]()
![]()
![]()
![]()
![]()
|
Copyright (c) 2012. Datumatic Ltd. Registration No. 04988675. UK. |